Installing PostGIS on Uberspace 7
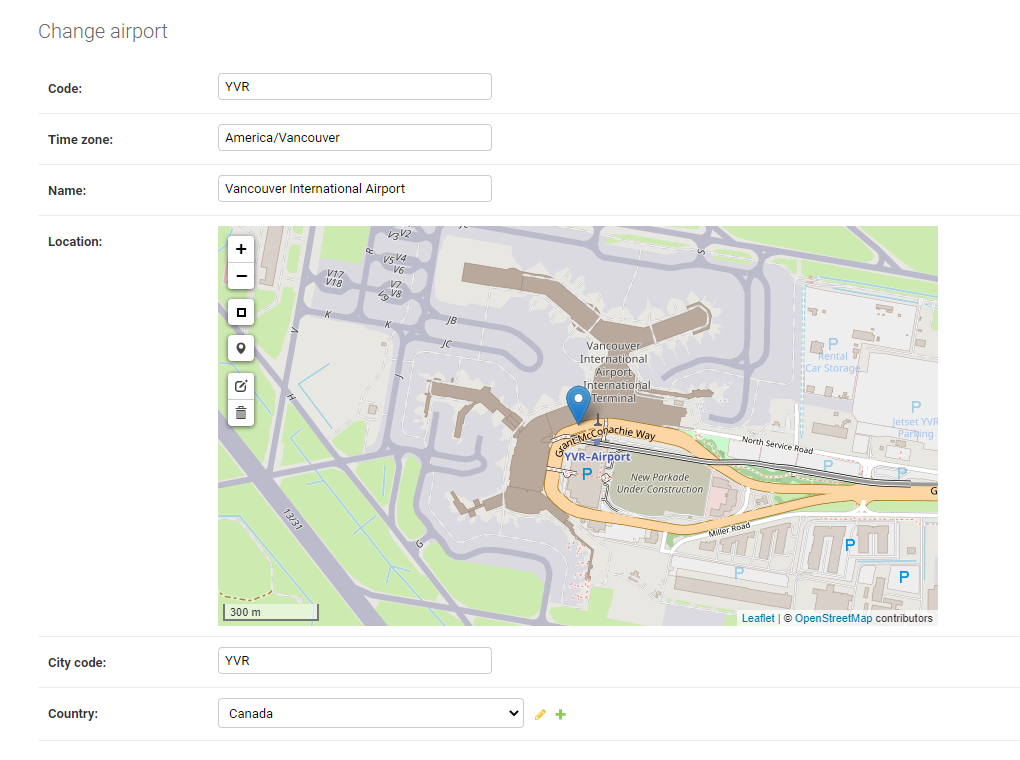
I recently started working again on my previous flight search database project. After a couple of years of trial and error I finally had a PostgreSQL based development version with a Django REST API that was ready to go online. As the flight search is heavily making use of GIS features such as storing airports as Points, calculating the routes distances using GreatCircleMapper and many more, a PostGIS setup was the obvious choice. I used it for example to save the locations of my airports as Points and display them using leaflet.js in the Django Admin backend.
A full-blown PostGIS stack exists out of a couple of different components.
At a bare minimum these are:
- PostgreSQL
- GEOS
- PROJ
- GDAL
- PostGIS
In the following paragraph I will show you how those can be installed on Uberspace. The same techniques can also be applied in a similar fashion to other VPS.
Install PostgreSQL
At first we need to install the latest version of PostgreSQL (in my case version 12.4) on our Uberspace server. We can do this with following commands. You should execute them one row at a time.
mkdir ~/postgres/
cd ~/postgres/
curl -O https://ftp.postgresql.org/pub/source/v12.4/postgresql-12.4.tar.gz
tar -xvzf ~/postgres/postgresql-12.4.tar.gz
cd postgresql-12.4/
./configure --prefix=$HOME/opt/postgresql/ --with-python PYTHON=/usr/bin/python3 --without-readline
make world
make install-world
Environment Settings
Please add the following lines to your ~/._profile using nano or vi:
export PATH=$HOME/opt/postgresql/bin/:$PATH
export LD_LIBRARY_PATH=$LD_LIBRARY_PATH:$HOME/opt/postgresql/lib
export PGPASSFILE=$HOME/.pgpass
Reload the ._profile with:
source ~/._profile
Run psql --version to verify the installation so far:
psql --version
psql (PostgreSQL) 12.4
Create a database cluster
nano ~/.pgpass
The syntax of the .pgpass file is the following:
#hostname:port:database:username:password (min 64 characters)
*:*:*:<uberspace username>:<password with 64 characters>
Change the permissions of the .pgpass file:
chmod 0600 ~/.pgpass
To use the pure password for the database cluster creation, create a temporary password file ~/.pgpass.temp, containing only your password:
nano ~/.pgpass.temp
<password with 64 characters>
Now create the database cluster using the previous temporary .pgpass.temp:
initdb --pwfile ~/.pgpass.temp --auth=md5 -E UTF8 -D ~/opt/postgresql/data/
Delete the temporary password file:
rm ~/.pgpass.temp
Configure the Unix Socket
Edit your ~/.rc using nano and add the following content:
export PGHOST=localhost
export PGPORT=5432
And reload the .rc settings:
source ~/.rc
PostgreSQL Configuration
Edit ~/opt/postgresql/data/postgresql.conf using nano and set the listen_adresses, port and unix_socket_directories:
Change the listen_addressto every IP by setting it to ‘*’ , or a specific IP(s). Either way, make sure this section is uncommented:
listen_addresses = '*'          # what IP address(es) to listen on;
                                        # comma-separated list of addresses;
                                        # defaults to 'localhost'; use '*' for all
                                        # (change requires restart)
Uncomment the portin the config file. It should look like this:
port = 5432
Change the unix_socket_directories to your tmp user directory. Also make sure it’s uncommented:
unix_socket_directories = '/home/<uberspace username>/tmp'
Setup Daemon
Create a blank ~/etc/services.d/postgresql.ini using touch:
touch ~/etc/services.d/postgresql.ini
Add the following content using nano:
[program:postgresql]
command=%(ENV_HOME)s/opt/postgresql/bin/postgres -D %(ENV_HOME)s/opt/postgresql/data/
autostart=yes
autorestart=yes
After creating the configuration, tell supervisord to refresh its configuration and start the service. The status should be Running:
supervisorctl reread
supervisorctl update
supervisorctl status
Install GEOS
Change to your home directory, create a new directory and change into there:
cd
mkdir geos
cd geos/
Download the latest version of GEOS:
curl -O http://download.osgeo.org/geos/geos-3.8.1.tar.bz2
Unzip the tar file:
tar -xvf geos-3.8.1.tar.bz2
Configure, make and install GEOS:
cd geos-3.8.1/
./configure --prefix=$HOME/opt/geos/build --enable-python
make
make install
cd
Check the version:
geos-config --version
3.8.1
Install PROJ
Change to your home directory, create a new directory and change into there:
cd
mkdir proj
cd proj/
Download the latest version of PROJ:
curl -O http://download.osgeo.org/proj/proj-7.1.0RC2.tar.gz
Unzip the tar file:
tar -xvf proj-7.1.0RC2.tar.gz
Configure, make and install PROJ.4:
cd proj-7.1.0/
./configure --prefix=$HOME/opt/proj
make
make install
Install gdal
Change to your home directory, create a new directory and change into there:
cd
mkdir gdal
cd gdal/
Download the latest version of gdal:
curl -O http://download.osgeo.org/gdal/3.1.2/gdal-3.1.2.tar.gz
Unzip the tar file:
tar -xvf gdal-3.1.2.tar.gz
Configure, make and install gdal:
cd gdal-3.1.2/
export PKG_CONFIG_PATH=/home/<uberspace username>/opt/postgresql/lib/pkgconfig
./configure --prefix=$HOME/opt/gdal --with-proj=$HOME/opt/proj --with-pg=yes -with-geosconfig=$HOME/opt/geos --with-python=python3
make
make install
Check the version:
gdalinfo --version
Install PostGIS
Before we progress, take a second to check your installation:
cd
ls opt/
The listing should look similar to this:
gdal geos postgresql proj
Change to your home directory, create a new directory and change into there:
cd
mkdir postgis
cd postgis/
Download the latest version of PostGIS:
curl -O http://download.osgeo.org/postgis/source/postgis-3.0.2.tar.gz
Unzip the tar file:
tar -xvf postgis-3.0.2.tar.gz
Configure, make and install postgis:
cd postgis-3.0.2/
./configure --with-projdir=$HOME/opt/proj --with-geosconfig=$HOME/opt/geos/build/bin/geos-config --with-gdalconfig=$HOME/opt/gdal/bin/gdal-config -with-pconfig=$HOME/opt/postgresql/
make
make install
Installing PostGIS in your Database
Create a new database user:
createuser <dbusername> -P
Create a new database:
createdb --encoding=UTF8 --owner=<dbusername> <databasename>
Connect to your database and enable the postgis extension:
psql <databasename> <cluster admin> -c "CREATE EXTENSION postgis;"
Housekeeping 🧹
Remove any unnecessary files and folders:
rm -r geos/
rm -r proj/
rm -r gdal/